How to Measure for Bay Windows
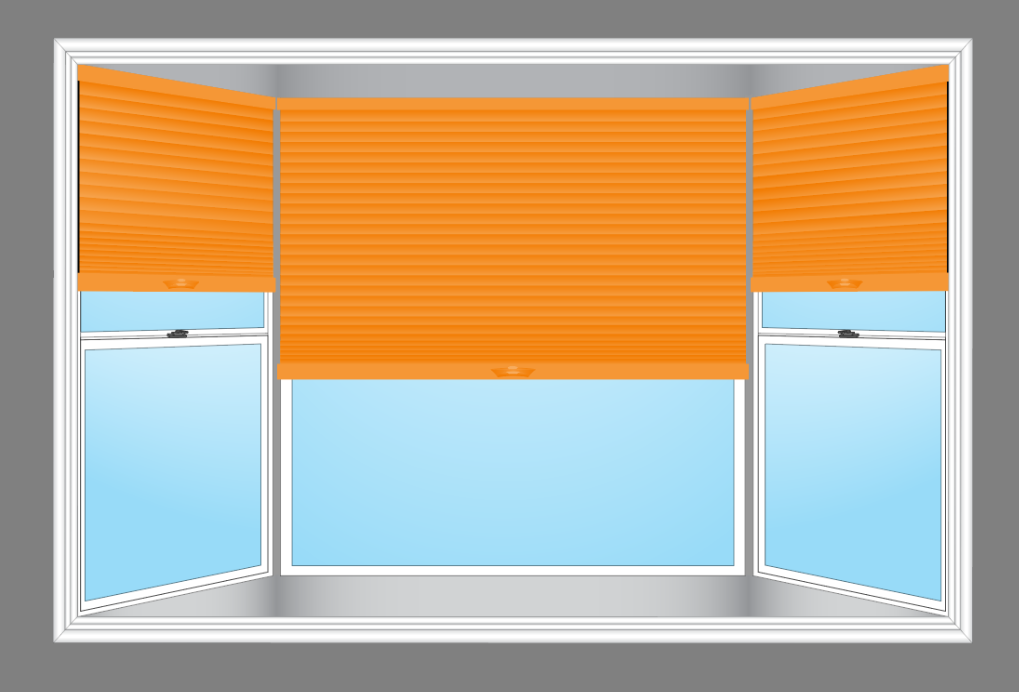
Don't let your bay windows throw you for a curve. You can have beautifully dressed bay windows by following these easy steps to get the exact measurements you need. It’s all about finding the right angles to start from.
How to measure a bay window also depends on the number of windows in the bay – the area that protrudes out from the room’s walls – and whether or not they actually overlap or collide with one another. Most bay windows have at least three – a middle window and two angled ones on either side. If your windows are all self-contained (that is, there is some wall space or trim separating them), you simply measure them like any other individual window. (Watch this video to see how.)
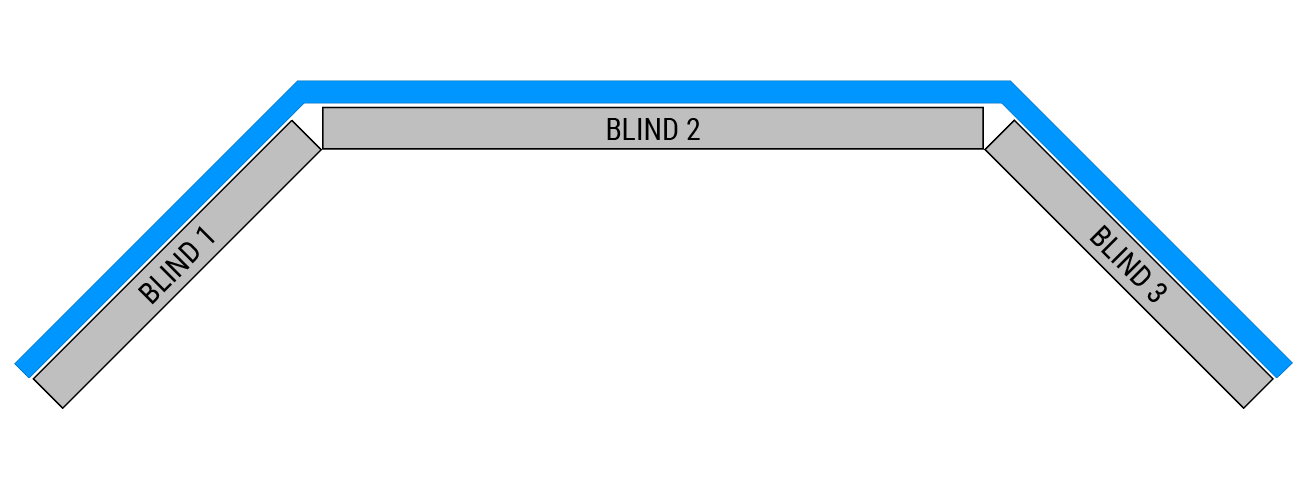
The key with hanging bay window treatments if the windows do “touch” is to make sure there’s enough room where they intersect so the headrails don’t overlap or interfere with each other when using them. That’s why determining the depth of your windows – and that of your product’s headrail – is also important.
For optimum operating ability and aesthetics, most people prefer hanging bay window coverings as an inside mount, with the headrail attached to the inside top of the window. While outside mounts are possible, keep in mind that your blinds may stick out quite far from the wall and may also cover up any nice, decorative trim around the windows. There’s also a greater chance the blinds may collide when raised and lowered, so we always recommend inside mount whenever possible.
So let's get started.
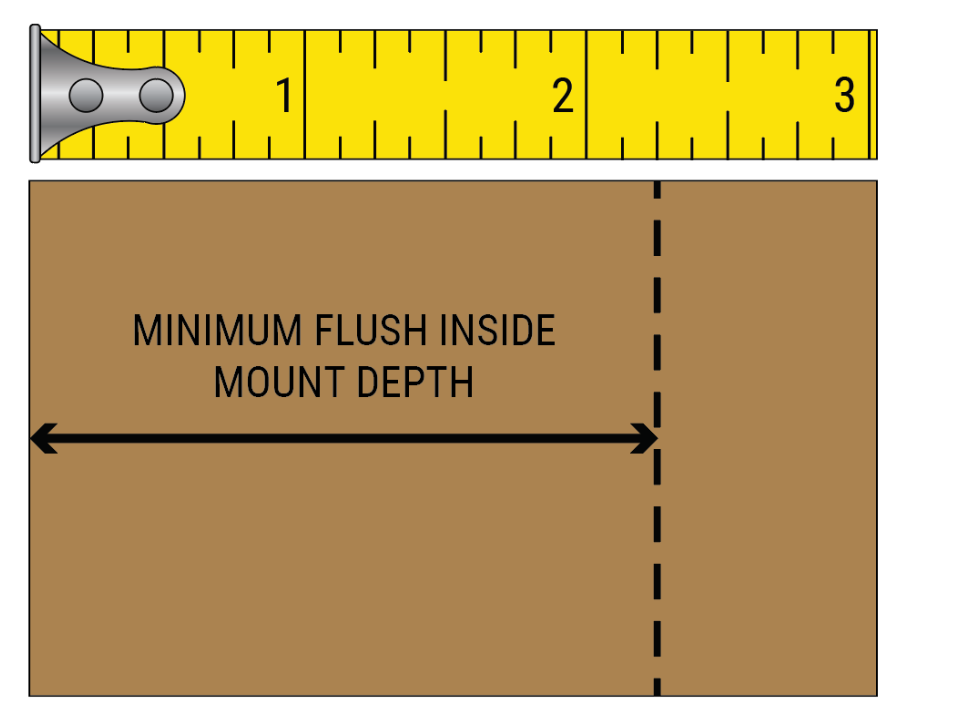
- Under the Product Info tab at the bottom of the product page for the blind or shade you're ordering, find the minimum flush mount depth in the Specifications chart. (You can also find it under the Measure & Install tab.) Be sure you use the correct depth measurement for the type of lift system (cordless, top down bottom up, motorized, etc.) you've selected.

- Cut out 2 pieces of cardboard the same size as the minimum flush mount depth. (Regular size business cards work, too.) You’ll use these as placeholders to show where the headrails for each shade will go, and to make sure they won’t overlap or interfere with each other when installing and operating your window coverings.
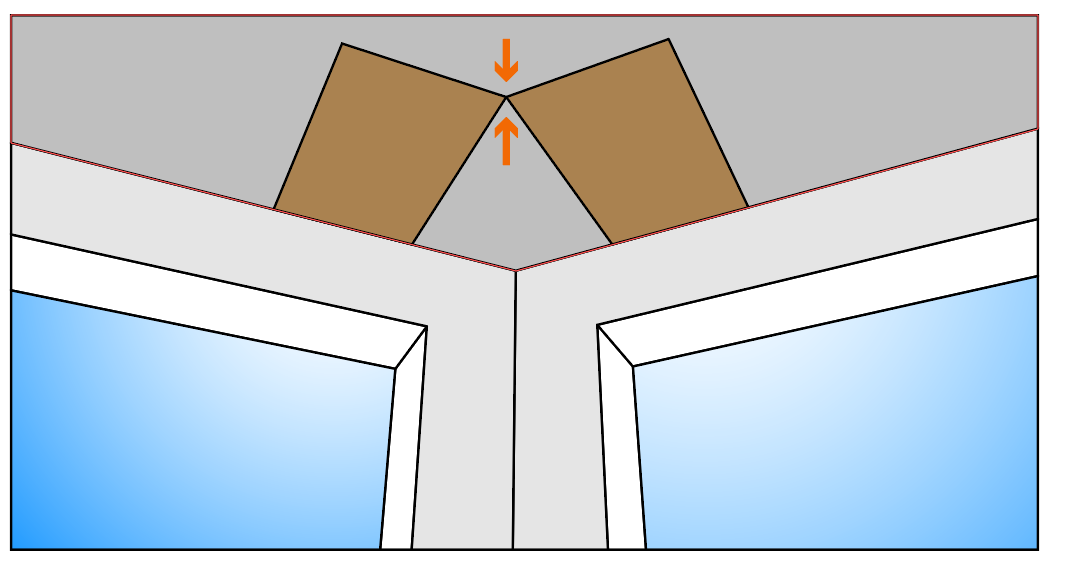
- Position the pieces of cardboard so the front edges meet in the adjoining corners and tape into place, as shown here.
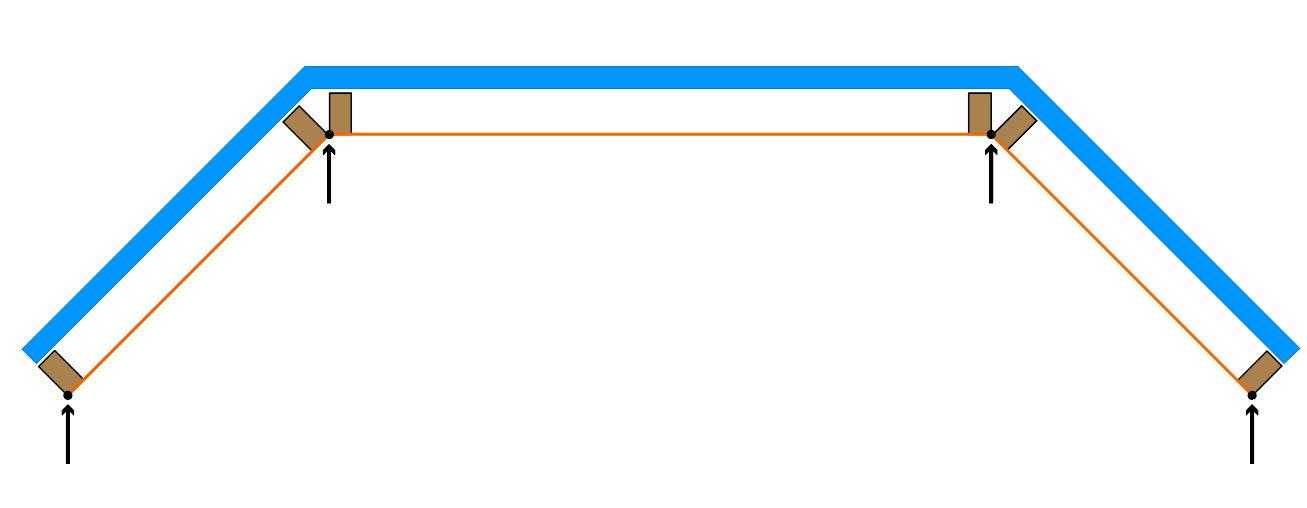
- With a pencil, lightly mark each end of the cardboard pieces where they come to an angle and meet in the middle window. Measure between the marks to get the measurement of the middle window.
- Starting from each mark in the center corners of the middle window, measure the width of the window to the right and then out to the end of the window on the left.
- Double-check all of your measurements, rounding the width of each window up or down to the nearest 1/8”. (Automatic deductions are taken on inside mounts at the factory to ensure a proper fit.)
- Measure the height of each window. (Watch this video to see how.)
- Repeat these steps as needed, depending on the number of windows you have.
Here’s a tip, too. After measuring, don’t erase your marks where they collide. Save them to use again when you install your blinds.
Any questions? We’re here to help! Just contact our crackerjack Customer Care team if you need additional assistance.

